Я обнаружил, что использование чипа RTC DS3231 чрезвычайно сложно с Arduino.
Простая установка времени довольно сложна, не говоря уже о коде. Но я нашел отличную и удобную библиотеку, которая действительно улучшает использование чипа DS3231.

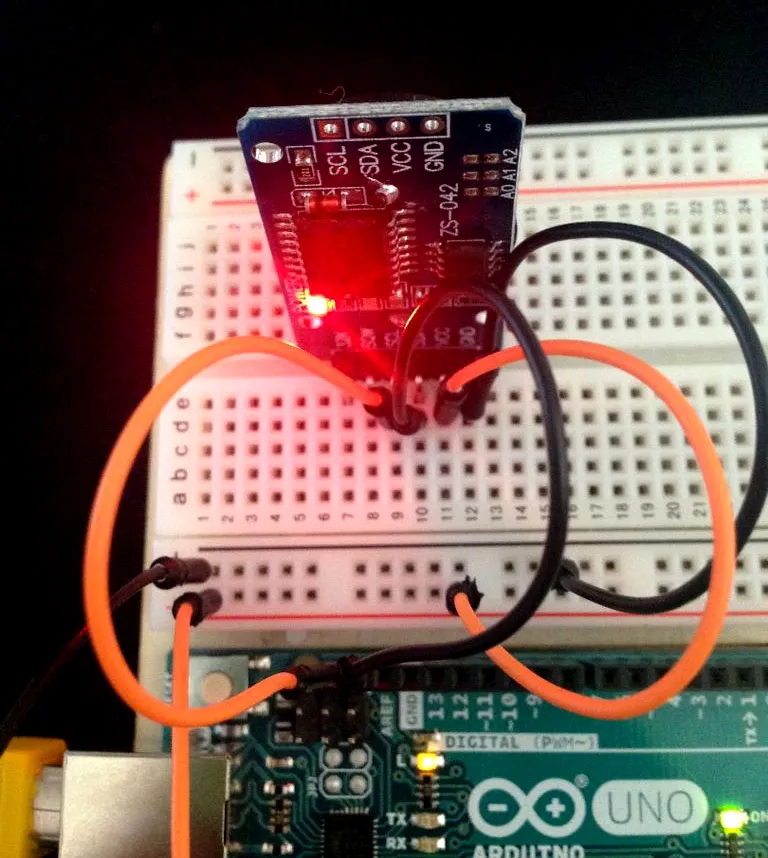
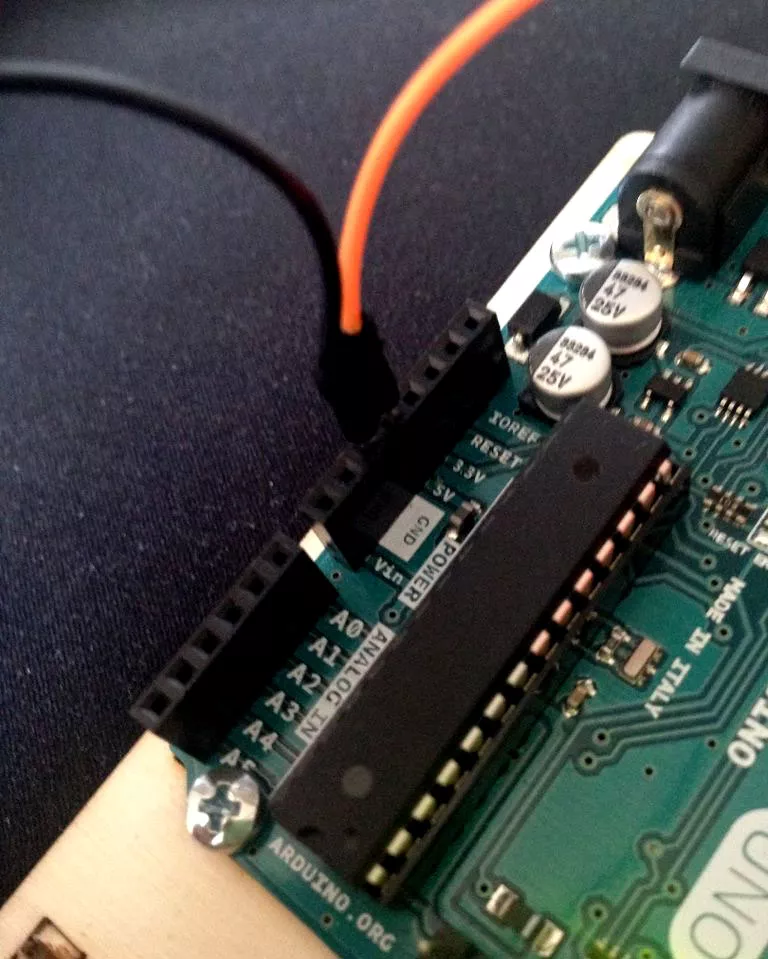
Шаг 1. Соединения
Конечно, сначала вам нужно подключить чип. Это очень просто, сделайте это в соответствии с рисунками ниже:
- VCC -> Arduino 5V
- GND -> Arduino GND
- SCL -> SCL or A5
- SDA -> SDA or A4
Насколько я знаю, в Arduino UNO и MEGA имеются специальные выходы SCL и SDA. Есть также два других контакта 32K и SQW, но мы не будем их использовать, поскольку мы получим полную функциональность через интерфейс I2C.


Шаг 2:. Библиотека
Мы будем использовать библиотеку Хеннинга Карлсена, которая реально классная. Большое спасибо ему за это! Существуют некоторые основные функции, такие как время и дата чтения, время и дата записи. Загрузить библиотеку можно на этой странице в нашем разделе Библиотек.
Шаг 3. Код проекта
Я просто использую примерный эскиз из библиотеки, который будет содержать множество комментариев:
// DS3231_Serial_Easy
// Copyright (C)2015 Rinky-Dink Electronics, Henning Karlsen. All right reserved
// web: http://www.RinkyDinkElectronics.com/
//
// A quick demo of how to use my DS3231-library to
// quickly send time and date information over a serial link
//
// To use the hardware I2C (TWI) interface of the Arduino you must connect
// the pins as follows:
//
// Arduino Uno/2009:
// ----------------------
// DS3231: SDA pin -> Arduino Analog 4 or the dedicated SDA pin
// SCL pin -> Arduino Analog 5 or the dedicated SCL pin
//
// Arduino Leonardo:
// ----------------------
// DS3231: SDA pin -> Arduino Digital 2 or the dedicated SDA pin
// SCL pin -> Arduino Digital 3 or the dedicated SCL pin
//
// Arduino Mega:
// ----------------------
// DS3231: SDA pin -> Arduino Digital 20 (SDA) or the dedicated SDA pin
// SCL pin -> Arduino Digital 21 (SCL) or the dedicated SCL pin
//
// Arduino Due:
// ----------------------
// DS3231: SDA pin -> Arduino Digital 20 (SDA) or the dedicated SDA1 (Digital 70) pin
// SCL pin -> Arduino Digital 21 (SCL) or the dedicated SCL1 (Digital 71) pin
//
// The internal pull-up resistors will be activated when using the
// hardware I2C interfaces.
//
// You can connect the DS3231 to any available pin but if you use any
// other than what is described above the library will fall back to
// a software-based, TWI-like protocol which will require exclusive access
// to the pins used, and you will also have to use appropriate, external
// pull-up resistors on the data and clock signals.
//
#include
// Init the DS3231 using the hardware interface
DS3231 rtc(SDA, SCL);
void setup()
{
// Setup Serial connection
Serial.begin(115200);
// Uncomment the next line if you are using an Arduino Leonardo
//while (!Serial) {}
// Initialize the rtc object
rtc.begin();
// The following lines can be uncommented to set the date and time
//rtc.setDOW(WEDNESDAY); // Set Day-of-Week to SUNDAY
//rtc.setTime(12, 0, 0); // Set the time to 12:00:00 (24hr format)
//rtc.setDate(1, 1, 2014); // Set the date to January 1st, 2014
}
void loop()
{
// Send Day-of-Week
Serial.print(rtc.getDOWStr());
Serial.print(" ");
// Send date
Serial.print(rtc.getDateStr());
Serial.print(" -- ");
// Send time
Serial.println(rtc.getTimeStr());
// Wait one second before repeating :)
delay (1000);
}
На этом всё, эта библиотека очень проста в использовании.
18 октября 2020 в 16:13
Ну и что это за фигня?
sketch_oct18b:1:10: error: #include expects «FILENAME» or
exit status 1
#include expects «FILENAME» or